
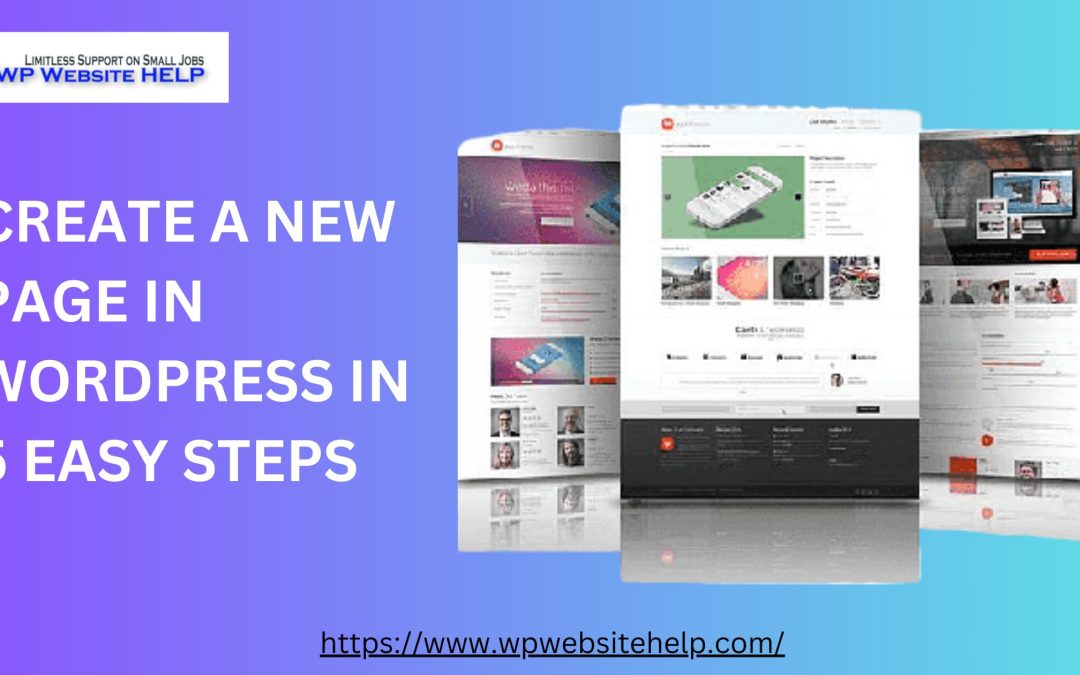
How to Create a New Page in WordPress
In this article, I will show you how to create a new page in WordPress in 5 easy steps. It can be awkward to mop at your WordPress screen, feeling numb because you’re blank.
As of now, chill out, and let’s create some pages. First thing First,
Understand Your WordPress Layout
When you enter your WordPress admin dashboard, forget about the complexity; hover your cursor or click on “Pages,” and you’ll have “All Pages” and “Add New.” Select “Add New.”
At this rate, memorize the following simple five steps to creating a new page on WordPress:
1. Add Title
The Add Title Block is the long thin space with the “Add title” indication below Add New Page.
Here you can insert your topic or title Keywords of the content you wish to share. Click on it and write; if you have content already written in docs, you can copy and paste the title here.
When you have inserted your title in the title page, WordPress will automatically generate a Permanent Link, mainly called “permalink.”
If you’re unhappy with the default permalink, click edit at the extreme right of the permalink; edit and save your preferred permalink.
2. Begin to Write a Content
After you’ve added your title and edited your permalink, bring your cursor to the content block, the most significant space in the center of the interface. Click on it and start typing your idea.
Content writing can also be a video, audio, or image form.
You can copy and paste written content from external platforms like Google docs.
Work handily with the Structure block, especially in writing form content.
The structure or content block is the area on top of the writing space. You can use the features in the content block to write easy-to-navigate content.
Understanding the Content Block
Content blocks are used for content structuring. Let us look at some essential content block features and their explanation.
- Media: Media is the feature where you can insert images, videos, audio, and pictures. You can either add them from the media library, upload them from the device or search for them online with the speech icon.
- Paragraph: Below the media block is the paragraph. You use the section to select a series of headings and subheads ranging from H1, h2, h3, h4, h5, h6, etc. This feature is used to begin a new section in content writing; it helps readers and search engines to understand content structuring. If you select “Paragraph” after you’ve opened the Paragraph block, you’ll be writing in standard text.
- Listings: In WordPress, you have two types of listings, and those are “Bullet listings” and “Number Listings.” Use this feature to flesh out concise and catchy points in your content.
- Quotes: It does what it is named; give the text a quoted emphasis.
- Alignments: WordPress provides a default option for three options of alignment. Left alignment, center alignment, and right-hand alignment. These features will have your writing arranged in the chosen direction.
- Insert/edit link: Use this feature to insert and edit inbound or outbound links in your anchor text.
- Undo and Redo. Mistakes are inevitable when writing; instead of clearing the whole work, you can undo or redo it to start at an error-free point.
3. Add Images
A WordPress page or post without an image is as good as nothing. After you have done so well writing your content. The next thing is to add Images. In WordPress, there are two types of images:
Content Page Image
Content page Images are at least one image below the h2 tags sections of your content. This best practice enables readers to understand what they’re reading visually. Also, add an alt text to each image you insert to allow search engines to recognize each section of your page for higher ranking.
To insert the content page Images, direct your cursor and click the area of the content you wish to insert the image. Scroll up to the Content block and click “Add Media.” You can select an image from the gallery, upload it from your device or search the internet for it.
The alt text must carry the Keyword if you’re writing for SEO.
Featured Images:
Featured Images are the first eye distraction that entices visitors to click on your content. Featured Images can come as a video presentation too. You only need one featured image.
Scroll down to the section where you see “setting featured images.” It’s usually at the bottom left. You insert the featured image the same way you insert the content page Images; add the alt text for SEO purposes.
PS: featured images are the images that appear on social media like Facebook, Instagram, and Twitter when your link is shared. It is only wise that you select an eye-seducing shot.
4. Use the Publish Block
The publish block is usually the last feature to use in writing your content. This area is used to publish your content. However, for some reason, you may want to confirm your work and fix some privacy Issues. This is where you need other features under the Publish section, such as:
- Save Draft: Save your work so that you can come back to it later,
- Preview: have a first view of how the published content will look like,
- Visibility: Decide who sees the content that you’re about to publish,
- Publish Schedule: Use this feature to publish immediately the command is given or edit it for a specific time or day,
- SEO: this is if you’re writing for Search Engine Optimisation and
- Readability: Use this to Know which area in your writing needs adjustment for smooth reading.
When you’re satisfied with what you’ve got, go ahead; publish already and have your content go live. But if you think something is missing, read on; I might tell you what it is.
5. Optimization
That’s right; optimize your page to rank for SEO. A basic understanding of SEO skills is needed in WordPress so that Google can index your page.
Optimization in WordPress is almost self-taught. Kindly follow the red lights and do what the indicator directs to go from red to green.
If you still have the butterflies in your belly, allow me to walk you through this process:
Basic SEO Optimization for WordPress
Scroll down; below the content body, you’ll see the red lights blaring next to SEO|Readability. Assuming your Readability is Good, you should click on SEO.
When it opens up, you will have to contend with the following:
- Focus Keyphrase
- Keyphrase Synonyms
- Slug
- Meta Description
Focus Keyphrase
They are also called Primary Keywords. Your Focus keyword or keyphrases are the ideal topics that readers usually write in the search engine for queries. Without at least a keyword in your article, your content will not appear on SERP; Google is not your uncle.
Adding a focus keyphrase in your content is as simple as taking the main or center word from the title of your content and inserting it in the focus Keyphrase block; that’s it.
That’s why it’s essential to know the exact words your readers use in their queries.
Keyphrase Synonyms
There is a limit to what primary Keywords can achieve in content writing. To cover more grounds and increase the possibility of high ranking, you need the ministry of the secondary Keywords.
Secondary Keywords are the extension of the primary Keywords. They’re many possible ways readers search for a particular topic.
One reader may search “Help, I don’t know how to create content on WordPress,” and the other may say, ” 5 Ways to create new content on WordPress.” Both are seeking how to add a new page to their WordPress account. You have to make sure you think this thing out.
Slug
In WordPress, a slug refers to the portion of a URL that identifies a specific post or page. The text appears after the domain name and creates a unique, user-friendly URL for each post or page on a WordPress site.
By default, the slug is automatically generated based on the post or page title. Also, you can edit it manually to create a shorter, more memorable URL. The slug should be descriptive and relevant to the post or page’s content, as it can affect search engine optimization and user experience.
For example, if the title of a blog post is “10 Tips for Better Sleep,” the default slug might be “10-tips-for-better-sleep.” If you like, edit the slug “better-sleep-tips” for a more concise and readable URL.
Meta Description
Take it from me; aside from the catchy picture that I used on this page, you clicked on this article also because of the first write-up you read while scrolling.
It was promising, right? That’s a meta description at work.
A meta description is a distinct part of the content that makes big promises of what a reader will benefit from reading a post. It’s usually not part of the content writing.
Below the slug, you will see a more extensive block written “Meta Description.” It is recommended that you write a maximum of 150 characters, including a maximum of two of your focus Keyphrases.
This way, search engines will project it as a sample for your readers to see if your page is worth their time.
FAQS
The five easy steps to create a new page in WordPress are:
Log in to your WordPress dashboard
Click on “Pages” and then “Add New.”
Enter a title for your page
Add content to your page using the WordPress editor
Publish your page when you’re ready
To add content to your new WordPress page, use the WordPress editor. This editor allows you to add text, images, videos, links, and other types of content to your page. You can access the editor by clicking the “Add New” button under “Pages” in the WordPress dashboard.
Yes, you can customize the design of your new WordPress page. WordPress offers a wide variety of themes and templates that you can use to create a unique look for your website.
Conclusion
After the basic WordPress SEO optimization, it’s important to monitor if you did a good job or still need improvement; that’s where you need the Premium SEO Analyst, like Yoast SEO.
When checking the SEO Analysis, make sure of the following: Keyphrase Length, Meta Description, Text Length, and SEO title width. Also, check on Inbound Links, Outbound links, Images, and Keyphrase Distribution.
It would be best if you fixed the Keyphrase in the opening paragraph. Suppose you can come out Good at all these. Publish already!
Read Also: Ways to Change WordPress Text Color
We are dedicated to sharing useful content for WordPress websites in the business & personal communities. This includes any related topics indirectly related to WordPress, marketing, advertising, e-commerce, technology, or any other online subjects we feel would benefit our readers and customers.
Debashrita @ The WP Website Help Team